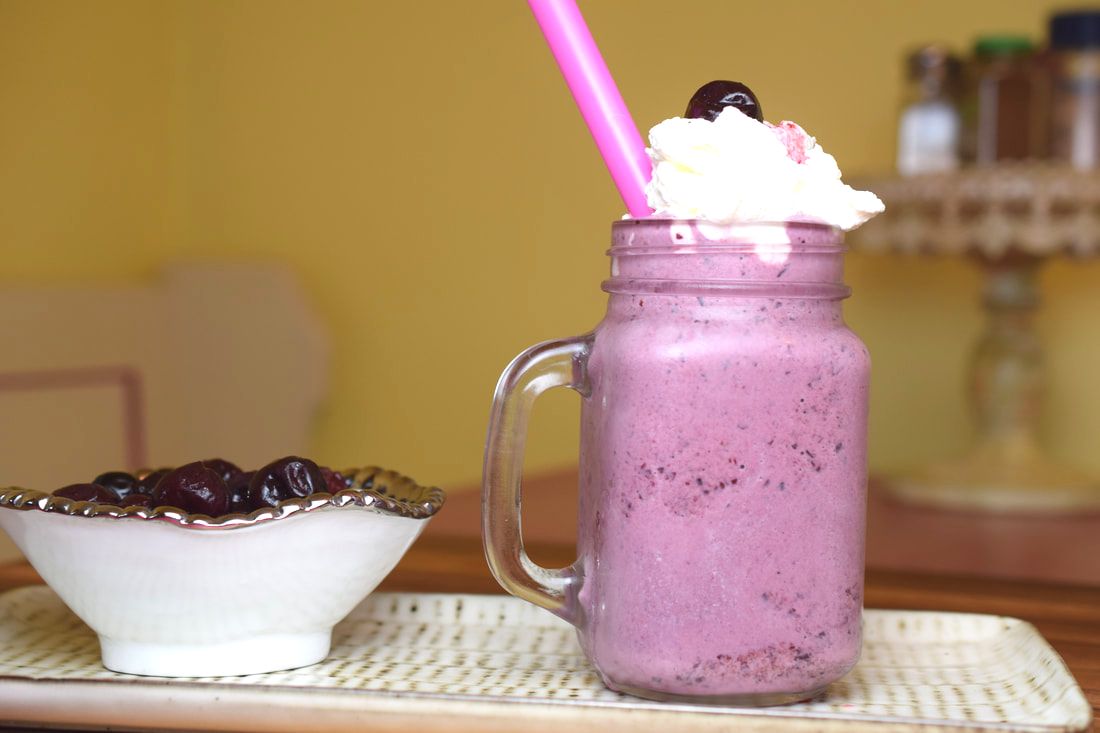
Cherries, Vanilla ice cream, what more can I say. Two of my favorite flavors. Milkshakes are an iconic dessert that have been around since the 1800's. They are simple, refreshing, sweet and satisfying. And you can make them in almost any flavor. Making a milkshake from scratch is the best because you can control how thick or thin you want it. Go ahead and give it a try.
Oh . . . and if there are no kids around, adding a splash of Disaronno gives this a whole new level of deliciousness!
Oh . . . and if there are no kids around, adding a splash of Disaronno gives this a whole new level of deliciousness!
1 pint heavy cream
2 tbsp. powdered sugar
2 cups frozen cherries
2/3 cup milk
2 cups good vanilla ice cream
1 tsp pure vanilla extract
For the whipped cream
Pour the heavy cream into a glass or metal bowl. With a stand or hand mixer, beat on high speed. When it starts to whip, add the powdered sugar and keep mixing until you get a medium firm whipped cream or your desired consistency.
For the milkshake
Add the cherries to the blender and give a few pulses. Next pour in the milk and pulse a few more times. Add the pure vanilla extract. Then, add the ice cream 1 cup at a time, pulsing until it is well blended.
Coax the milkshake into your glass. Top with a big dollop of whipped cream and top with a cherry! Simple and delicious.
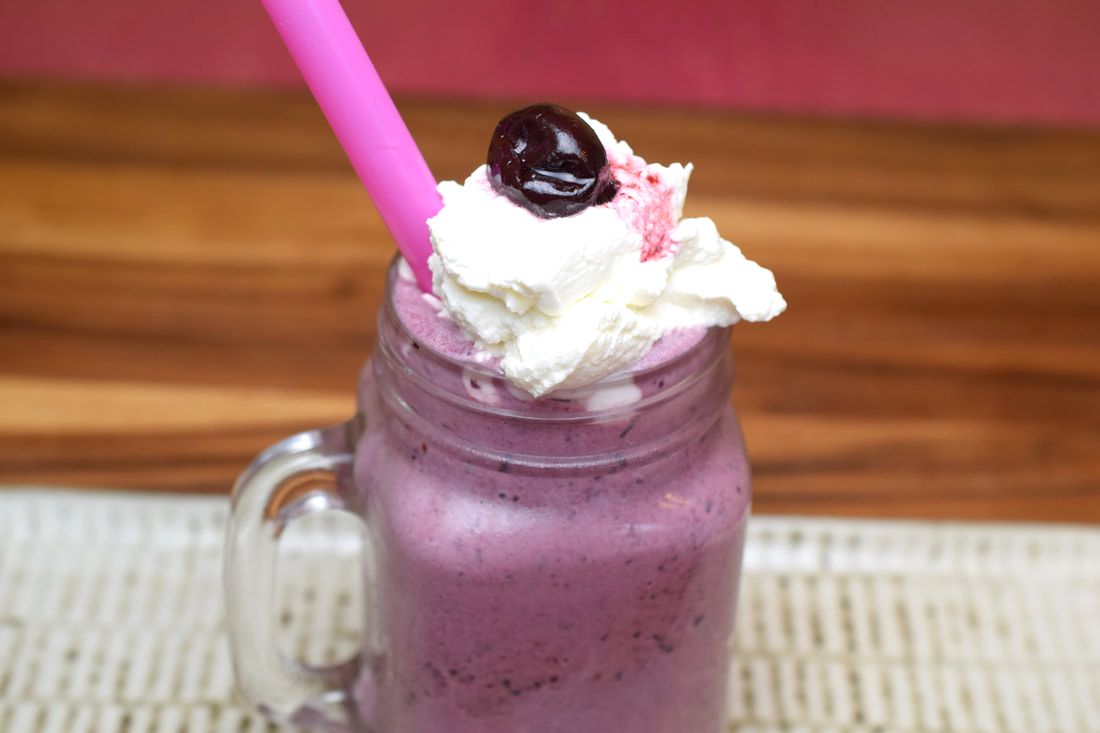 | 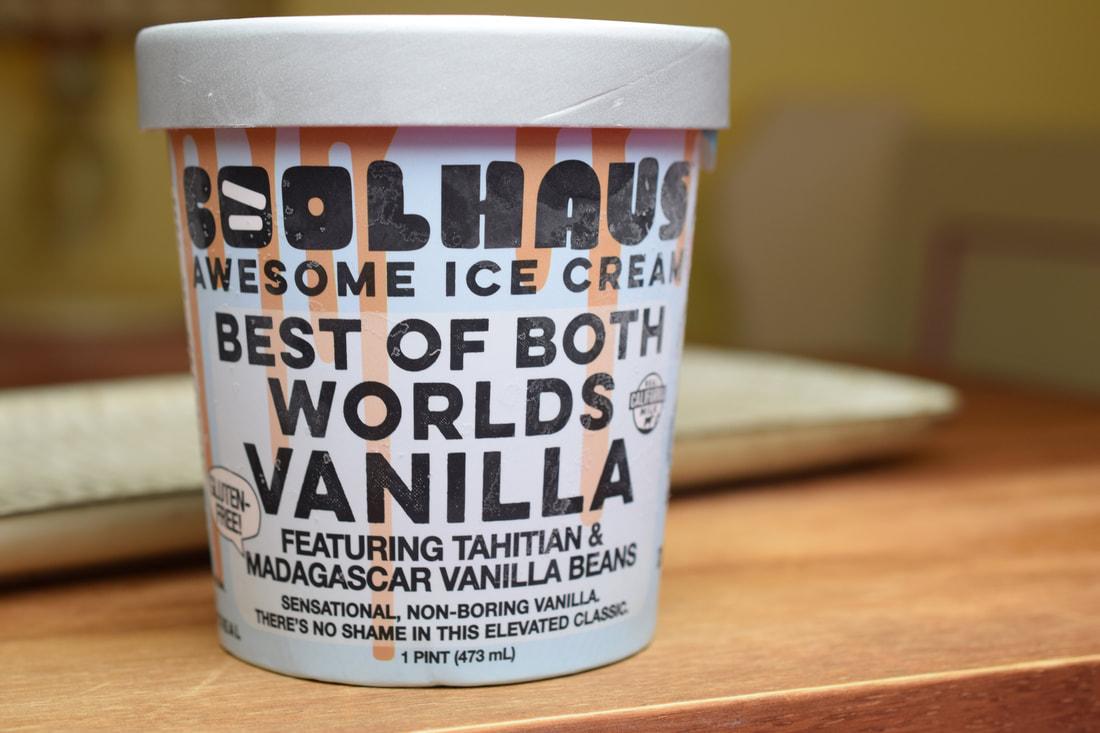 |
Best served with a straw but, if you like to slurp . . . I used Coolhaus Vanilla Ice Cream. It is full fat and adds that great creaminess, but any good full fat ice cream will work.
 RSS Feed